Set Up a GraphQL - TypeORM Backend in 4 Minutes | Quickstart
Learn how to set up your GraphQL server using Typescript and TypeORM
In this post, you will learn how to set up a GraphQL backend using Typescript and TypeORM.
It might look intimidating at first, but despite the setup, is pretty easy to implement. It also provides a scalable and reliable architecture to work with.
This post is the first part of a series on how to set up a complete GraphQL backend using Typescript and TypeORM.
So let's dig straight into the first part - Boilerplates
Quick start your GraphQL And TypeORM Backend
Assumed that you already have Node and Postgres up and running, let's start by installing TypeORM:
Here you can find the docs website.
To install TypeORM you can simply write:
npm install typeorm -g
And initialize the project:
typeorm init --name MyProject --database postgres
Of course, you can use whichever DB you want.
TypeORM will now set up all the boilerplate files into a folder called using the name inserted during initialization.
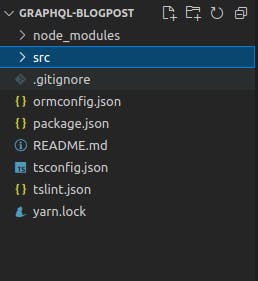
Open the folder and look at its content:

- Entity folder: Contains your database entity schemas, class representations of your tables
- Migration folder: Will contain migration queries, the fastest way to update databases in production.
- ormconfig.json: Contains TypeORM settings to connect to the database and global behaviors.
The other files should be familiar.
Stop Typescript From Complaining
Before setting up the GraphQL server, you need to modify the tsconfig.json options to accommodate a couple of features. Replace your tsconfig options, with the following:
# tsconfig.json
{
  "compilerOptions": {
    "target": "es6",
    "module": "commonjs",
    "lib": ["dom", "es2017", "esnext.asynciterable"],
    "sourceMap": true,
    "outDir": "./dist",
    "moduleResolution": "node",
    "removeComments": true,
    "strict": true,
    "noImplicitAny": true,
    "strictNullChecks": true,
    "strictFunctionTypes": true,
    "strictPropertyInitialization": false,
    "noImplicitThis": true,
    "noUnusedLocals": true,
    "noUnusedParameters": true,
    "noImplicitReturns": true,
    "noFallthroughCasesInSwitch": true,
    "esModuleInterop": true,
    "allowSyntheticDefaultImports": false
  },
  "exclude": ["node_modules"],
  "include": ["./src/**/*.tsx", "./src/**/*.ts"]
}
Optional, if you're working with prettier, you will need to change the linters set up and install:
yarn add -D tslint-config-prettier #D means dev
and change the linter settings to accommodate the new libraries:
- Create a new file called tslint.json
- Copy the following settings:
#tslint.json

{
  "defaultSeverity": "error",
  "extends": ["tslint:latest", "tslint-config-prettier"],
  "jsRules": {},
  "rules": {
    "no-console": false,
    "member-access": false,
    "object-literal-sort-keys": false,
    "ordered-imports": false,
    "interface-name": false
  },
  "rulesDirectory": []
}
tslint.json and tsconfig.json source: Ben Awad node-ts-graphql boilderplates
Install GraphQL Yoga
GraphQL Yoga is a Fully-featured GraphQL Server with a focus on easy setup, performance & great developer experience.
Install GraphQL Yoga in the TypeORM project directory:
yarn add graphql-yoga
Now you need to test the initial setup, let's print "hello world" from a GraphQL Playground.
To do so: go to your index.ts file and replace the whole content with the following lines of javascript:
# index.ts
import { GraphQLServer } from 'graphql-yoga' // Import the library

#Create the types definitions to describe queries
const typeDefs = `
  type Query {
    hello(name: String): String!
  }
`

#Create resolvers to resolve queries
const resolvers = {
  Query: {
    hello: (_ : any, { name } : any) => `Hello ${name || 'World'}`,
  },
}

#Start the GraphQL Server on port:4000
const server = new GraphQLServer({ typeDefs, resolvers })
server.start(() => console.log('Server is running on localhost:4000'))
And run:
yarn start
This will start up your server, passing as arguments:
- TypeDefs: read more here
- Resolvers read more here
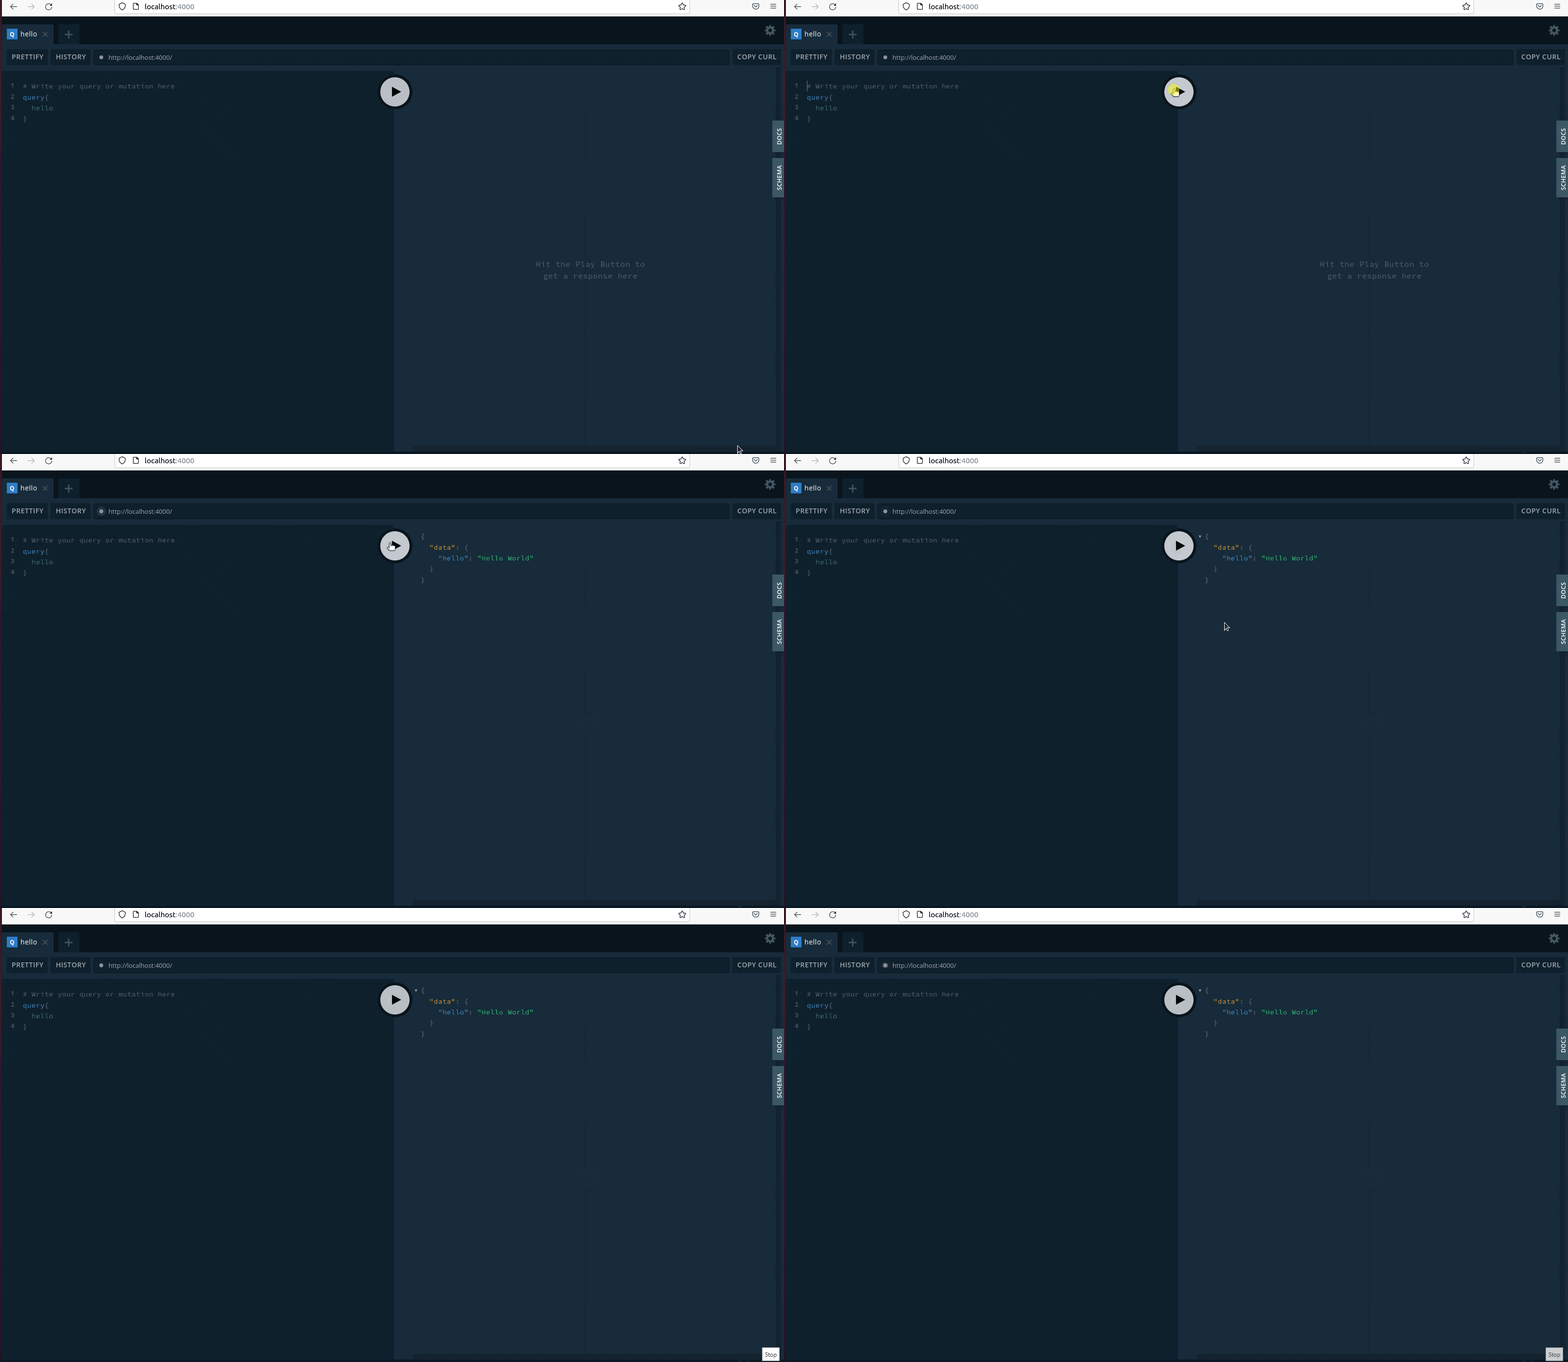
Browsing to localhost:4000 will now redirect you to the GraphQL playground. In the left panel, copy and paste the following query:
query{
    hello
}
Click on the play button:

🎉🎉 Congratulations! If everything works as expected: You've successfully initialized a working instance of GraphQL - TypeORM server 🎉🎉
Conclusions
In this post you've learned:
- How to set up Typescript to work with GraphQL.
- How to Install and bootstrap a TypeORM project.
- How to set up GraphQL Yoga.
- Launched your first GraphQL query.
In the next post, you'll learn how to implement GraphQL Mutations, connect to your Postgres DB, and register new users using UUID and TypeORM entities!
Hey! Thanks for reading!👋
If you liked this post:
- Leave a like.
- Consider sharing.
- Connect with me on Twitter! And drop me a DM.
Trouble Shooting
Having issues following the tutorial? Check the FAQ below 👇
PG Module is not installed
- TypeORM might require you to install the pg (Postgres) package, simply write in the console:
yarn add pg
StrictPropertyInitialization can't be changed
- If you need to keep your property initialization active:
#tsconfig.json "strictPropertyInitialization": true,User.ts @Column ('text') password!: string;
Error using declare namespace GQL
In the MyProject/src/types/graphql.d.ts file you might get an error about "declare namespace module":
- Change "declare namespace GQL" to:
#graphql.d.ts export namespace GQL - Add import {GQL} to the index.ts file:
index.ts
import { GQL } from './types/graphql'
